Shooting through glass is one of the quickest ways to ruin an otherwise sharp frame. Whether you are photographing museum displays, a shop window display, street architecture, or passenger views from a train, the camera sensor records whatever light hits it first. In daylight, that usually means a bright reflection of the street behind you, your own jacket, or the sky overhead washes over the subject you actually wanted to photograph.
Post-processing cannot rescue these frames. When reflected glare clips highlights or overlays pure white over dark shadows, the underlying contrast and color never reached the sensor. Sliders like Dehaze or Contrast in Lightroom only amplify the washed-out white haze.
To remove reflections from glass, you need to filter the light before it enters the lens. That is the job of a circular polarizing filter (CPL). But a CPL is not a magic wand, and if you mount one without understanding how reflection geometry works, you will end up wondering why the glass looks just as reflective as before.
Here is how to get clean shots through glass, the physical limits you need to know, and the four steps to make it work.
The angle rule: why polarizers do nothing at 90 degrees
Before screwing any filter onto your lens, look at the angle between your camera and the glass.
Light reflecting off non-metallic surfaces—like glass, water, or automotive clear coats—becomes polarized only when it strikes the surface at an angle. The effect peaks at Brewster's angle, which for standard window glass sits between 30° and 35° relative to the glass plane (roughly 56° from the normal line perpendicular to the surface).
If you stand directly in front of a glass pane and point your lens perpendicular to it at a dead-on 90° angle, the reflected light is essentially unpolarized. You can spin your circular polarizer all day at 90°, and the reflections will barely change.
If your composition forces you to shoot straight into a window or a display case at 90°, a polarizer is the wrong tool. Instead, get your lens physically as close as possible to the glass. Pressing a soft rubber hood flush against the surface or shielding the gap with your hand or a dark jacket will physically block the ambient room light from bouncing back into your glass.
When you have the freedom to compose at an angle—roughly 30° to 45° off the pane—a circular polarizer eliminates surface reflections almost completely.
Step 1: Set your shooting angle
Step slightly to the side of your subject so your lens meets the glass pane at roughly a 30° to 40° angle.
Look through your viewfinder or rear screen as you shift your position. You will notice spots where reflections are already dimmer. That is your shooting position. If you are shooting a car through a showroom window or an artifact behind a museum vitrine, framing slightly off-center often produces a cleaner view and a more dynamic composition anyway.
Step 2: Mount the correct thread size
Check the filter thread size of your lens before attaching a CPL. It is marked on the front ring of your lens barrel or inside your lens cap with a diameter symbol followed by a number (for instance, Ø49, Ø67, Ø72, or Ø77).
If you shoot multiple lenses and are unsure which size you need, check our lens filter finder to look up your exact focal length and mount.
Screw the circular polarizer on gently until it seats against the front thread. A CPL consists of two rings: the back ring threads directly into the lens filter thread, while the front ring spins freely on its bearings.
Step 3: Rotate the front ring while checking the EVF
Keep your eye on your electronic viewfinder or rear monitor and slowly rotate the front ring of the polarizer.
As the polarizing foil rotates into alignment with the light's polarization axis, you will see reflections on the glass pane peel away. Details inside the shop or behind the display case will suddenly appear with clear contrast, saturated colors, and restored shadow detail.
Rotating the ring 90 degrees shifts from minimum reflection to maximum reflection. If you keep turning past the sweet spot, the reflection will come right back, so take three seconds to dial it in deliberately.
Step 4: Compensate for the light loss
A polarizing filter is dense optical glass doing physical filtering work. Because it blocks light waves oscillating along unwanted axes, it inherently costs light.
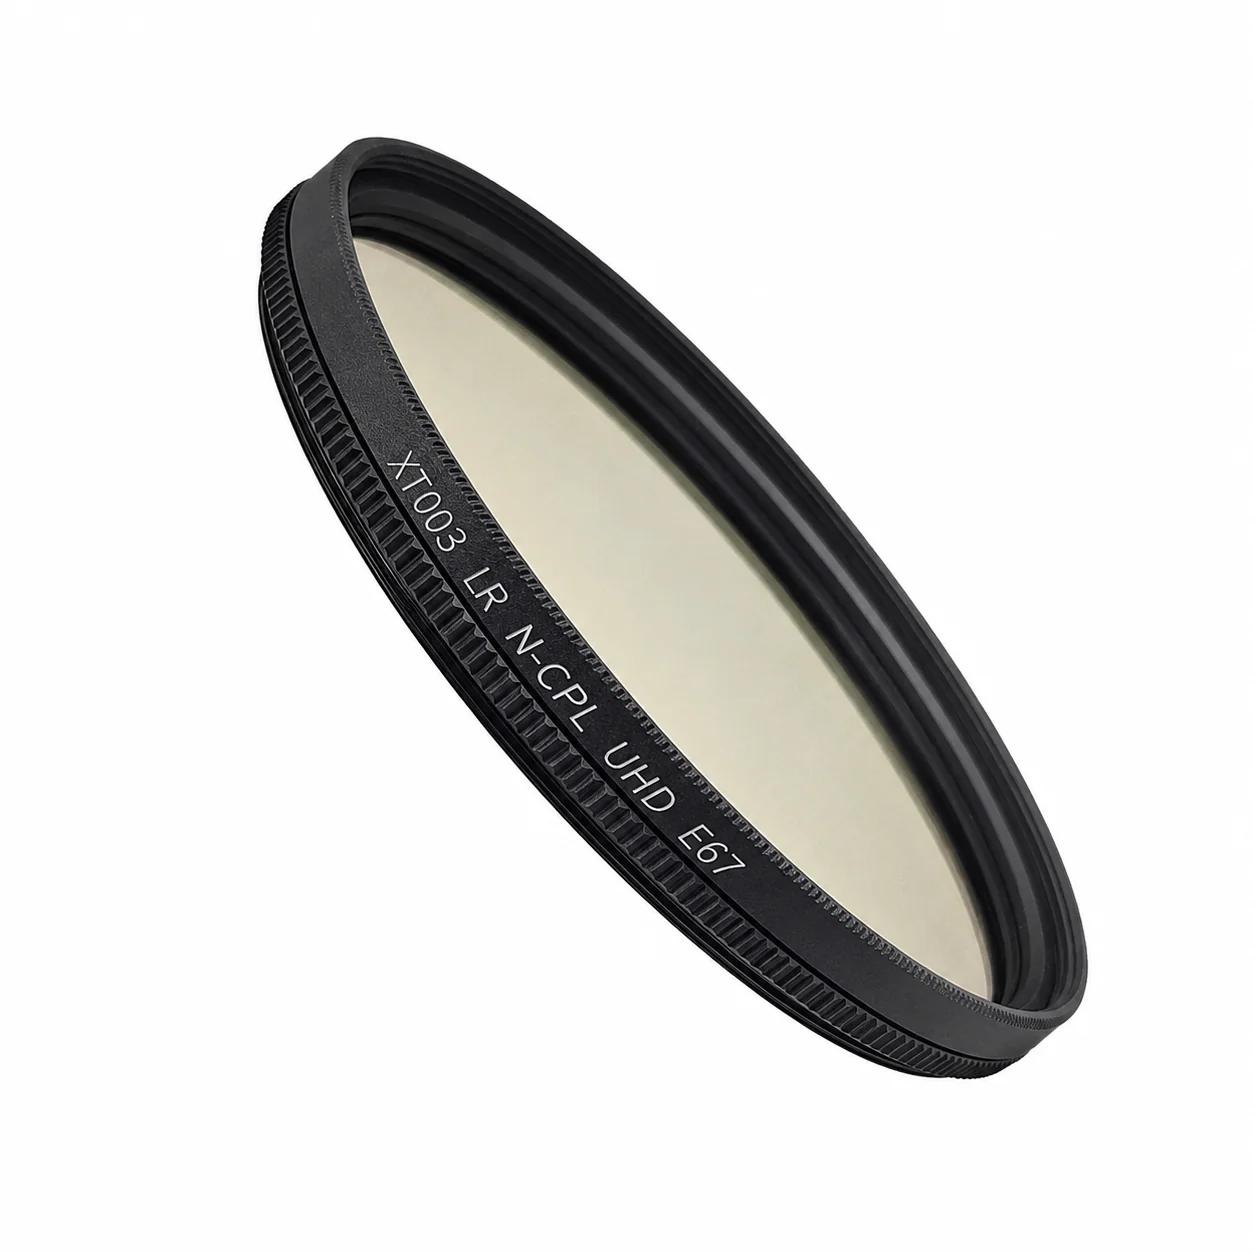
Our value CPL, the XT003 CPL ($39.99–69.99 in 39–82mm), uses a Nitto polarizing film with a 99.8% polarization efficiency, ultra-white optical glass, and a double-sided 24–32 layer multi-coating. Its average reflectance is ≈0.3%, and its average transmission is ≈44%.
An average transmission of around 44% means the filter absorbs roughly one to one-and-a-half stops of light. That is completely normal for any legitimate polarizing filter, but it affects your exposure. If you shoot handheld in dimmer indoor environments or late afternoon shade, you need to adjust:
- Drop your shutter speed slightly if you have steady hands or good in-body image stabilization.
- Open your aperture by one stop if your depth of field allows.
- Bump your camera's ISO by one or two clicks to keep your shutter speed safe from motion blur.
For high-resolution sensors and telephoto focal lengths where absolute optical flatness and low flare are critical, our flagship XT001 PRO CPL ($79.99–189.99 in 43–95mm) steps up to Schott B270 optical glass with double-sided 36–48 layer coatings and an average reflectance of ≈0.1%. Note that XT001 PRO starts at 43mm, while the XT003 covers down to 39mm (though the 39mm black variant is currently out of stock).
What a CPL cannot fix
To avoid disappointment in the field, keep three practical limitations in mind:
- Bare metal reflections: Light reflecting off bare, conductive metal (like chrome trim, bare aluminum, or polished mirrors) does not undergo polarization. A CPL cannot remove reflections from polished metal surfaces.
- Stress patterns in tempered glass: Heat-treated architectural glass or vehicle side windows often exhibit internal mechanical stress. Under a polarizing filter, these internal stress lines can appear as faint rainbow or checkerboard patterns (birefringence). This is a property of the glass tempering process, not a flaw in your filter.
- Internal glare when the interior is dark: If the room inside the window is completely dark while the sun blazes outside, cutting surface glare will reveal an underexposed interior. A polarizer cuts glare, but it cannot create light where none exists.
When you shoot at the proper 30° to 40° angle, rotate the front ring deliberately, and account for the one-stop exposure drop, shooting through glass becomes simple and predictable.
Explore our XT003 CPL or XT001 PRO CPL to find the right thread size for your glass. Orders over $99 ship free worldwide.
— Leo Liang